Like many people, when COVID hit, I was struggling to find a fitness solution that didn't involve a gym. When we moved to our new home, we were about a half-hour to the closest gym, so even in a post-pandemic world, I needed a closer-to-home option.
We looked at getting a Tonal initially, but our middle of nowhere internet wouldn't support their interface. In fact, since there is no hardwired option, even with our new fiber internet, it would be questionable. (Tonal equipment designers....I would love a LAN input option!)
The other option is Peloton. I looked at investing in the bike. I couldn't justify that purchase for a couple of reasons. First of all, is the cost of the bike itself (starting at $1,500 up to $2,500 for the Bike+) plus the ongoing charge each month ($39.00). That's a pretty big purchase for something I've never used before. I actually perfer weightlifting, so that's a large portion of my budget on one activity.
I started researching Peloton "hack" solutions. Solutions that would give me a similar experience as the bike, but at a significant price reduction with the app. After a couple of months using my setup, I think I have tweaked it so it's pretty darn close to the actual Peloton experiance.
Before I go into all the equipment, I do want to point out what you're missing in the app experience v. the bike. You will not be able to get your total output score since that's a measurement of speed and cadance. The app only has access to the cadence if you have a sensor. Since you do not have an output score, you can not partipate in the leaderboard during live classes. (Yes, you can join live classes on the app and you have access to an extensive on demand library). You can not use the scenic ride option available on the bike. I believe you still can get a call out for a milestone since the app does track how many rides you've taken, but I think bike users get preference. Also, instructors will call out numbers for resistance and you won't be able to set your resistance exactly how they instructed. I don't find this an issue because I want to adjust the resistance to match my own effort and fitness level. After a few classes, I got the hang of how many times to turn my own resistance knob to make the ride more challenging.

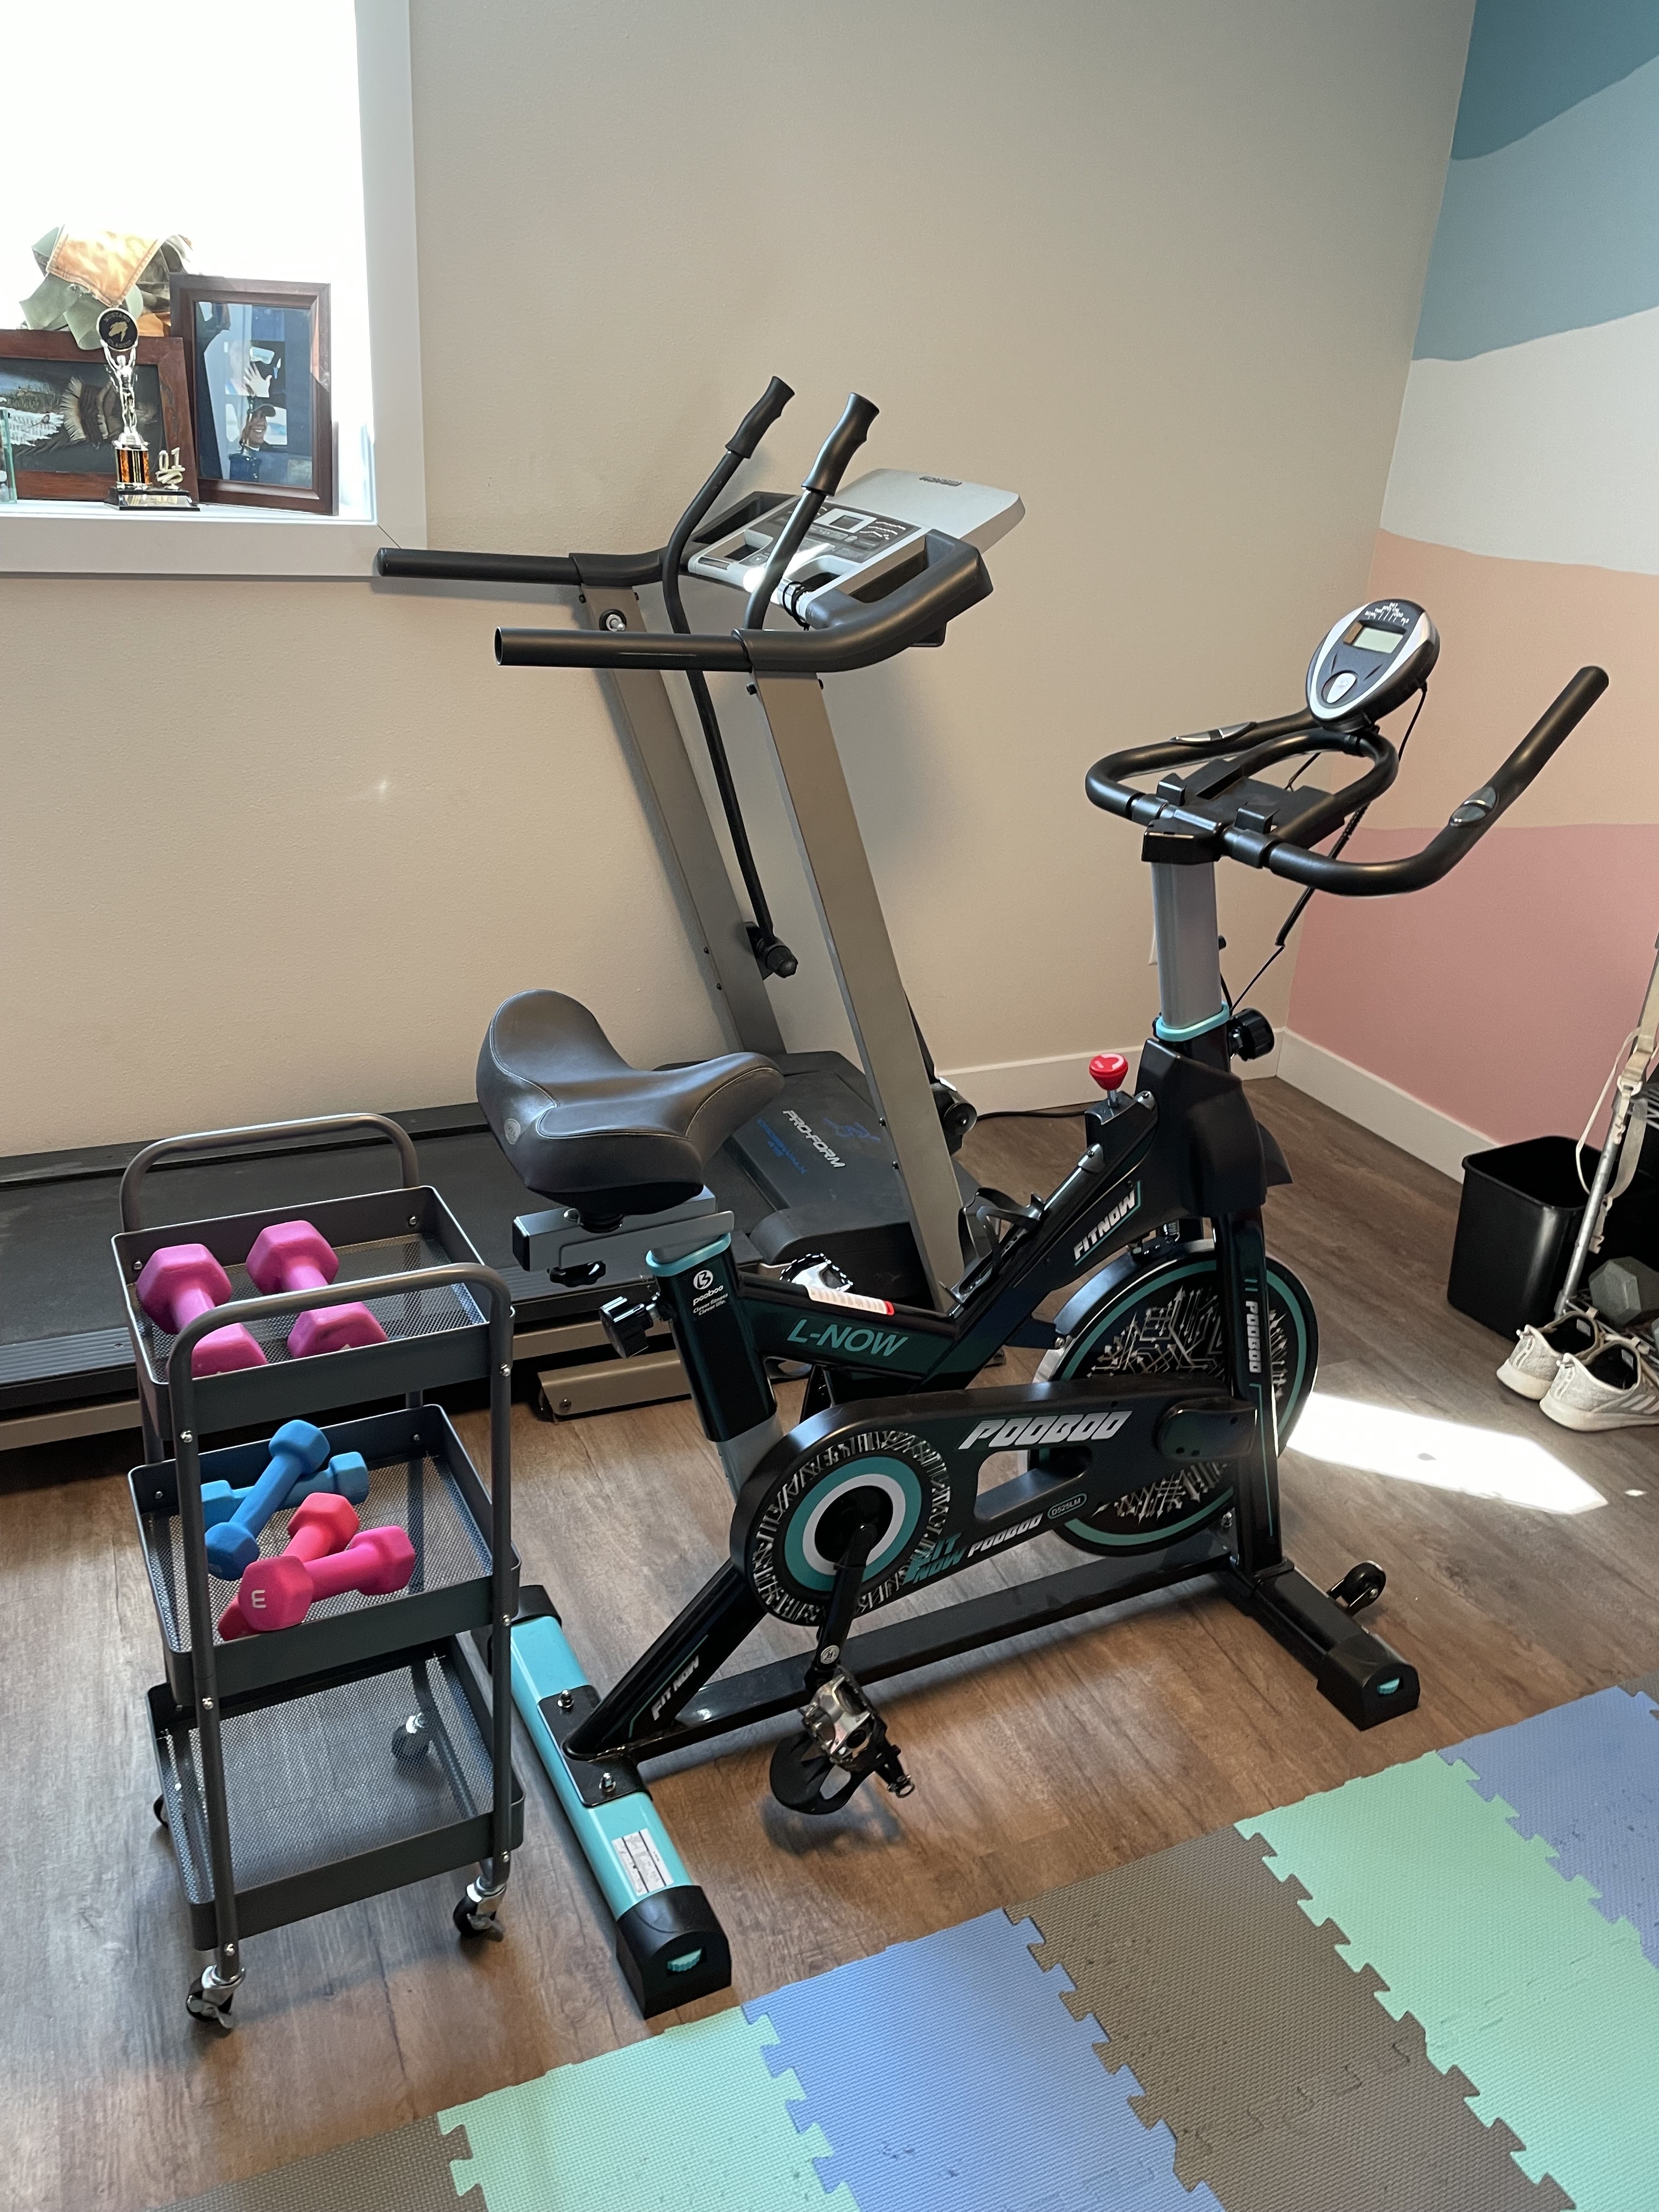
Bike: $244.00
A popular option with app users is the Sunny Bike. I considered it, but ultimately went with the PooBoo bike. First of all, it was on sale as part of Prime Day for only $244.00. It has a magentic fly wheel so it's a smoother quieter ride than bikes that use felt pads for resistance. I liked the color of the bike (obviously not a huge factor but a bonus). So far I'm happy with the bike. The only negative thus far is the components aren't the strongest I've seen. There is some give when adjusting the seat and handlebars. I do have to tweak the seat every couple of weeks.
Cadence Sensor: $39.99
In order to get your cadence to appear on the screen of the Peloton app, you will need a remote bluetooth cadence sensor. The most popular option is the Wahoo sensor. The only querk I have found is you must pedal a few minutes before you try to pair the sensor with the Peloton app. I attached it to the inside of my pedal using the sticker provided and it hasn't budged.
Peloton App: $12.99 per Month
Currently the monthly subscription to the Peloton app is $12.99. I say "currently" because bike users just experienced a price increase last week. I haven't seen a price increase annouced for the application, but I wouldn't be surprised if one is coming soon.
These are all you need to get started cycling. The total cost of this set-up is only $283.99. The monthly cost going forward is just the app fee of $12.99.
These are the additional accessories I added to enhance my experience:
Bike Seat: $43.00
I upgraded the bike seat for a more comfortable riding experience. The YLG bike seat was recommended by Rosey Beeme and is fantastic. It may not be completely fair to consider this in the final cost since I would have purchased it for the Peloton bike either way.
Heart Rate Sensor: $40.00
If you would like to see your current heart rate on the screen during a class and use Peloton's heart rate metric "Strive Score," you need something to measure your heart rate. I have an Apple watch, but as of now, the connection between the two interfaces is unusual. If you start a Peloton workout, it will start a workout on the watch and will count your exercise minutes. You can see your heart rate on the watch, but it will not appear on the app screen. The Apple watch will not record your heart rate for your Strive Score. I bought this heart rate sensor for another fitness class, but it pairs well and works great with the app. Now I just look like a crazy person wearing two watches, but oh well. That's a bonus of being at home.

Television: Free
There's many ways you can view the classes. I've used an iPad and my phone with no issues. The bike I listed above has a built in stand that works for both. There was a free tv available to me, so I decided to use it in our little gym. I do like having a large screen that works great for both cycling and weight lifting classes.
HDMI Adaptor: $41.92
If you use the Peloton app on a streaming stick, you will see the class and hear the music. However, you will not see your cadence or heart rate on the screen. It's pretty simple when you think about it. Both the cadence or heart rate connect to the app via bluetooth. If you use an app straight from the streaming service (not your phone), the bluetooth sensors can't pair with the streaming stick. You must mirror the app from your phone.
If you have a device that does a direct mirror from your phone, then you can view the cadence and heart rate. Due to that slow internet issue I mentioned above, I connect my phone to the TV via a HDMI cable and this adaptor. This set-up also has the added benefit of having two screens to view the class on. I have found this especially really helpful with yoga classes. I have my phone on the mat for lower poses. This adapter also allows you to charge your phone at the same time.

Clip In Pedals: $70.00
After using the cage pedals that came with my bike for a few months, I decided it was time to upgrade to clip in pedals. I bought these pedals and so far have been happy with them. It only took about 15 minutes to install them with a simple wrench.

Clip In Shoes: $100.00
This is a pretty subjective cost. You can find cycling shoes starting at $30.00 up to hundreds. I picked these particular shoes, because they are knit and breathable plus they have good reviews. This cost is much like the bike seat. Even if I decided to go with the Peloton bike, I would still need shoes.
Rolling Cart: $28.99
The last thing I added to my set-up was a simple rolling cart. I used the cart to hold the remote, ear buds (I use those when the kids are sleeping), water bottle and light weights. The square design of this one means it fits nicely behind my bike when I'm not riding.
If you're still reading this ridculous long post, the final cost for my set up with all the added enhancements is $607.90 which includes the $143.00 for my seat and cycling shoes . The ongoing cost per month is $12.99.
Non-Cycling Classes
Since we have already covered everything in such detail, here's even more equipment you can consider. I enjoy the non-cycling classes Peloton offers as well. For the strength training, I have free weights in 5lbs, 10lbs, 15lbs and a set of adjustable weights that go from 4 to 70 pounds. I have mats on the ground to absorb shock. For yoga classes, I have a yoga mat, yoga blanket, bolstor (this one is awesome and the company has been amazing with follow up education), and yoga blocks. We also go a treadmill second hand, but honestly I haven't tried the tread classes yet.