I'm SO happy it's the weekend. It's 8:00 pm and still 70 degrees out. I'm loving that it's so nice out. It's made enjoying my new project much easier.
Like the bench I featured a couple of weeks ago (Click here for the post), we had a old beat up picnic table left over by the previous owner of our acreage.
I knew it could be fixed with some new wood. I decided I wanted to take it a step further and make it even more functional. This is how our drab junk picnic table became our upcycled game table!

Supplies
Free Picnic Table (Or purchase the metal legs) $0.00
Old Door $35.00 from Habitat for Humanity. You probably could find one for free. I just wasn't patient enough!
Spray Paint $3.00 On clearance at Wal-Mart
Latex Paint $0.00 I used sample pots I got for free from Lowes.
Varnish $10.00 Pint size from Lowes.
Wood $5.00 I bought untreated wood for the seats after speaking with an employee at Lowe's. I just sealed it with extra coats of varnish. This way I didn't have to let the wood season over the summer.
Yahtzee and Sorry game board $10.00. I couldn't find a used one, so I ended up purchasing a brand new one for the project. I chose Sorry since it's a game that can be played across a large spectrum of ages. I had some Yahtzee score cards. I laminated each card prior to epoxy.
Epoxy $35.00. This was the expensive part. If I redid this, I would probably just get plexiglass cut to size and seal it to the table.
Total Cost: $95.00
Cost of a smaller new unfinished picnic table: $100.00
1. Take the Table Apart & Spray PaintDirections

I reused all the bolts and nuts on the table for the most part. They entire thing came apart quite easy. I imagine if it would have given me some grief, I would have taken a hack saw to it or a sledge hammer. I cleaned up the legs with some steel wool and a wire brush. It had some rust, but I just had to get all loose pieces off and then it was ready for a coat of spray paint.
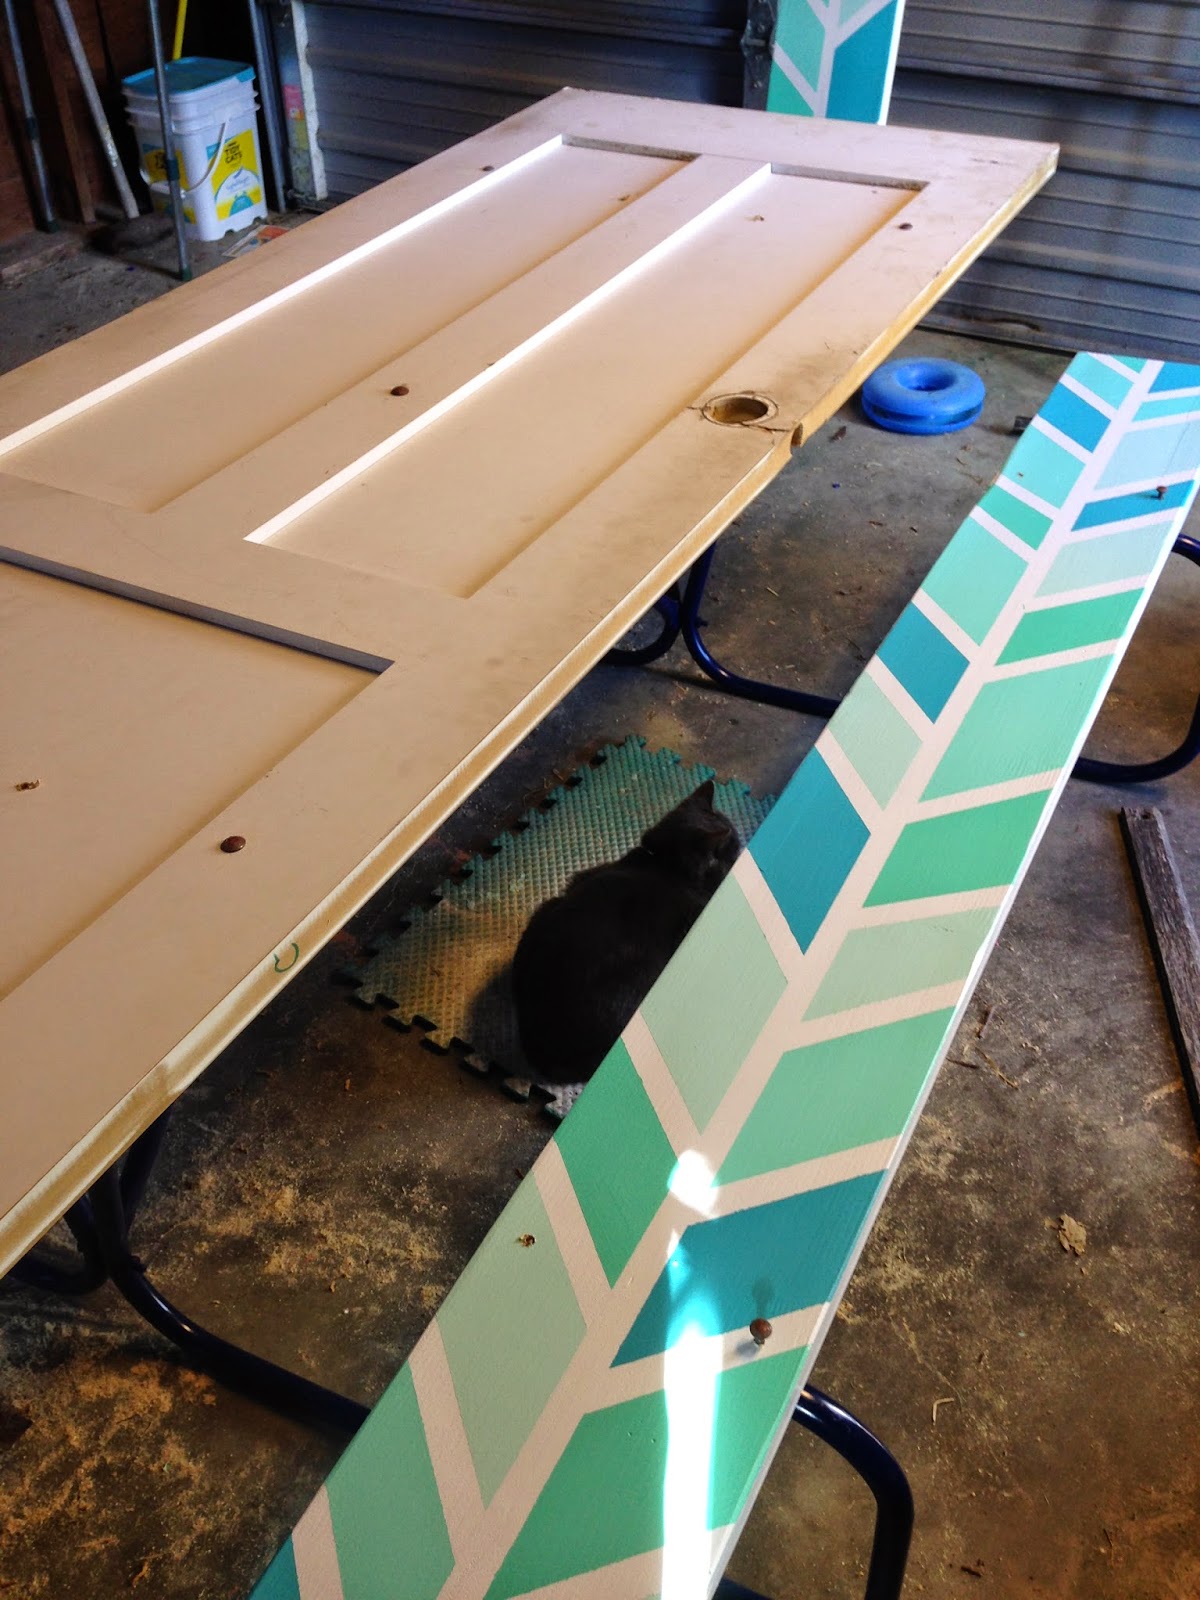
2. Cut Seats to Size & Paint. Paint Door.
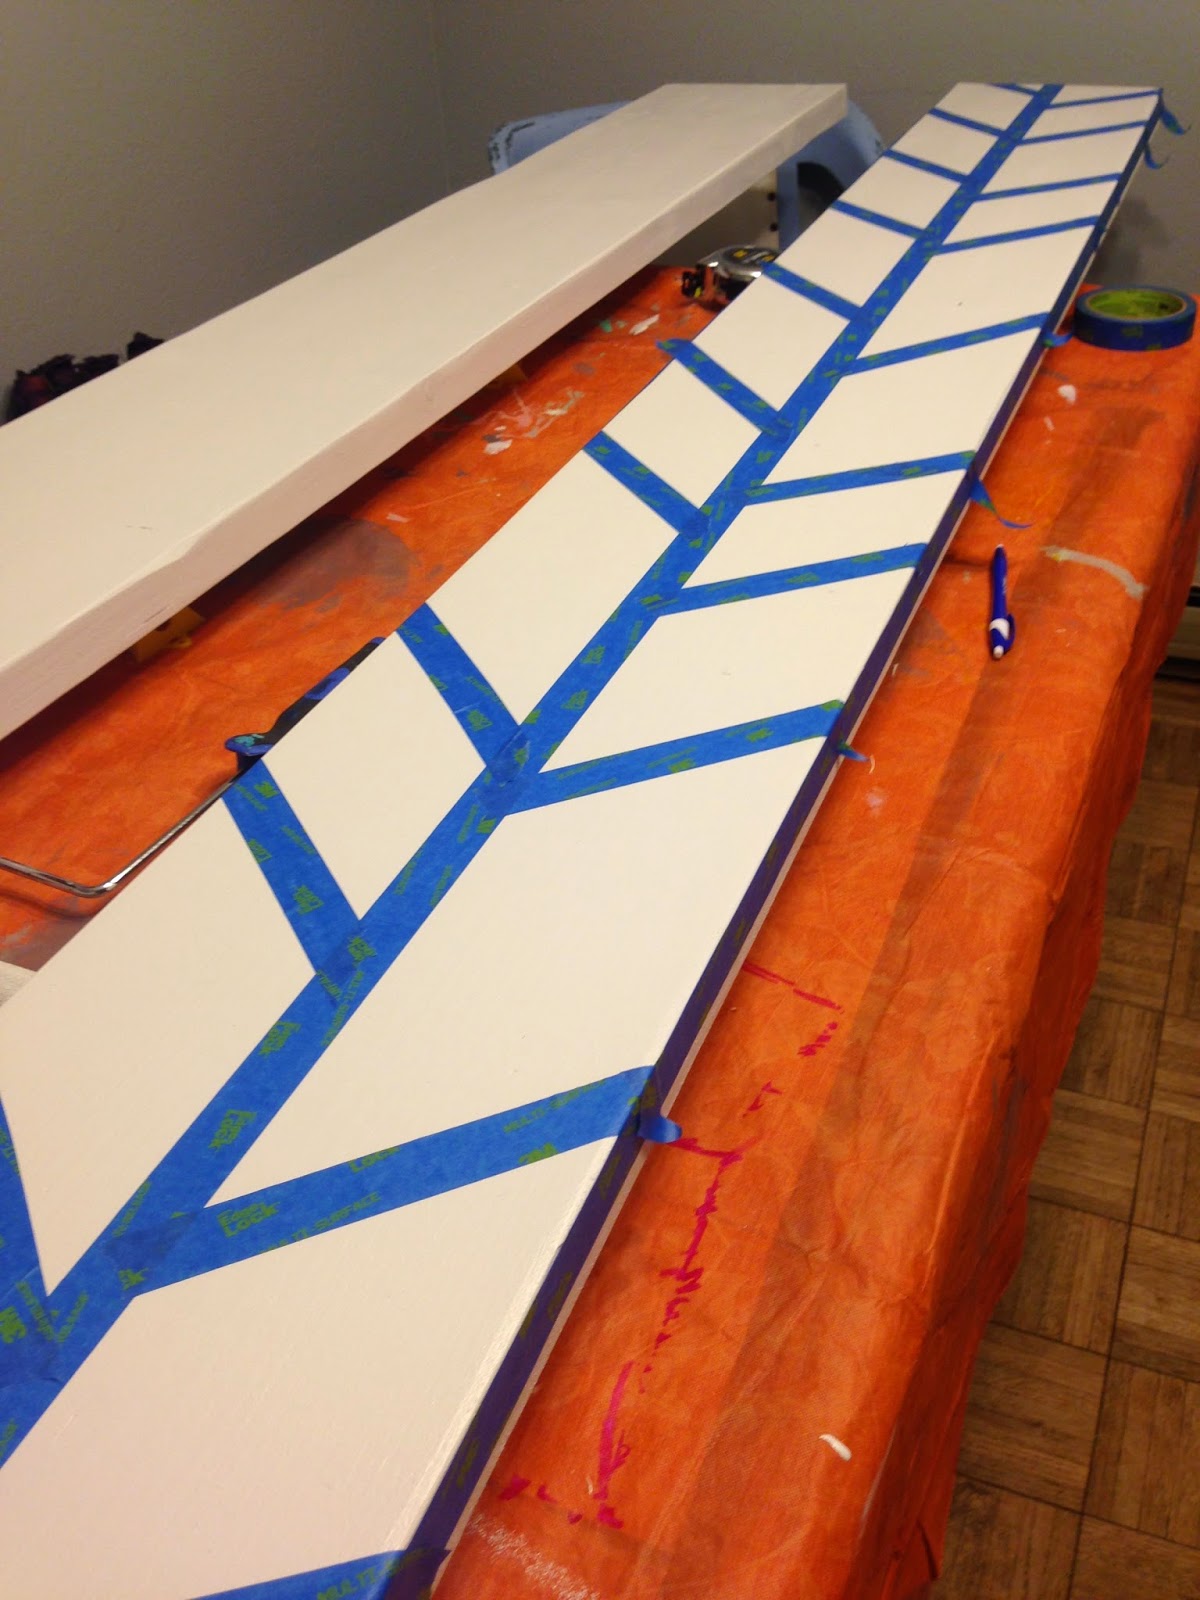
I had to take a foot off each board. After the board was cut, I primed all sides and did a base coat of white. Then, I did a design with painters tape and painted the tops of each seat. Note that the sealer will yellow the color, so white may not be the best option. If I redid the project, I would probably pick a darker color to avoid this. I also had a white door. I did a fresh coat of white on the door so it would look cleaner.

3. Drill Holes. Attach Door & Seats.
So this is a case of measuring twice and drilling once. I kept the wood I took off the picnic table and used that as a template on where to drill each hole. You may also notice the door knob hole on this door is looking pretty beat up. The door was apparently build around the door knob. It would NOT come off. We finally took a hammer and just beat the heck out of it until it popped off. The damage ended up being covered up anyways, but it is still sad looking here.
4. Seal Seats & Door
I don't have a picture of this step, but it's pretty darn simple. Follow the directions on your varnish to seal everything. I did bottoms and tops. I went over screws as well. You could easily seal everything before you bolted it into place, but I wanted everything to be sealed together as one piece.
5. Epoxy Time!

This is a matter of following the directions on the epoxy you chose to use. I used "Glaze Coat" found in the paint section of Lowe's. It worked very well; however, it's not rated for outdoor use. I am curious to see how it will do this summer and winter. The other option I thought of after I had everything done was plexiglass. That would have probably created a cleaner look. I had some serious issues with keeping bugs out of the epoxy as it dried. I pulled the table into our garage, but it still was a bug magnet. I also would have done a fun color or design on the Yahtzee card side if I redid everything. That would have made the bug spots less noticeable.

Bubbles are normal when you first pour the epoxy. Use a heat gun or plumber's torch to heat the surface and make them disappear.

The game board turned out great. Yahtzee side...err not as great. Stupid bugs.
6. Dry & Enjoy!
The epoxy will take some time to dry and harden. My epoxy took about two days with 70 degree weather. There's still one very small tacky part, but it will be gone soon.
Side Note: I also cut two pieces of scrap wood to put over the knob hole. You'll see below that they make a great hiding spot for game pieces! I'm attaching the top wood with velcro.


Bug spots! BOO! That was a HUGE moth that landed.

The knob hole is perfect place for the dice for Yahtzee! I still need to do some clean up on the lid and another coat of paint, but it will be a fun part of the table when it's done.


A great addition to the Ugly House yard!


No comments
Post a Comment